The design of the big marshmallow house calls for a flat roof to build a roof top terrace. Flat roof, it is actually not technically correct. You will never build a house with a real flat roof. Because if you do, you will have problem with water sitting on top of the roof causing damage to the house. The accurate term will be a low slope roof. The “flat roof” still have a slope to facilitate water drainage, just at a very low angle. Any roof that has slope of less than 2:12 or a rise of 2″ over 12″ or 9.5 degrees is considered to be a low slope roof. I have designed my low slope roof with two interior roof drains. But to have proper drainage, the roof needs to be slopes so that the water flows towards the roof drains.
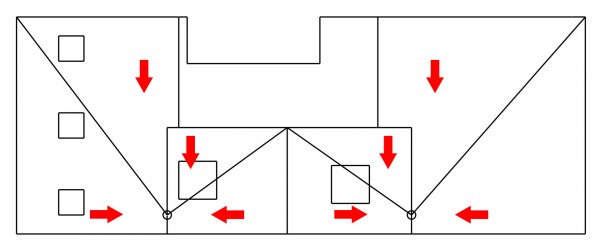
And this is what the framer came up with. Below is a top view of the house with the north pointing up. The two circle on the bottom (south side) is where the two roof drains will be located. The four diagonal lines are valleys while the vertical line in the middle is a peak. The north side is about 4″ higher than where the roof drain is. Making this roof with an overall slope of 4″ rise over 15′-8″ or 1.2 degrees. And as you can see with those diagonal valleys and the peak in the middle, the design manages to push all the water towards where the roof drains will be as indicated with the red arrows.
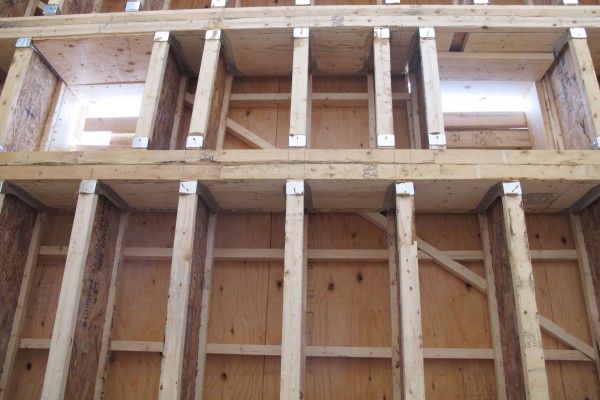
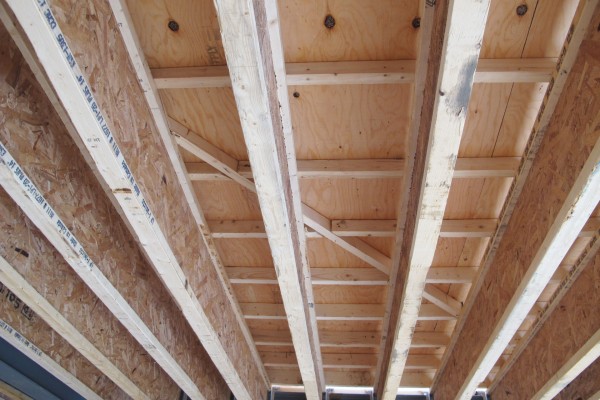
What’s been show above is the design on paper. Here’s the actual implementation. This is a photo from under the roof on the west side of the house. Here you can see the diagonal support that will make water flow both from north to south as well as from west to east.
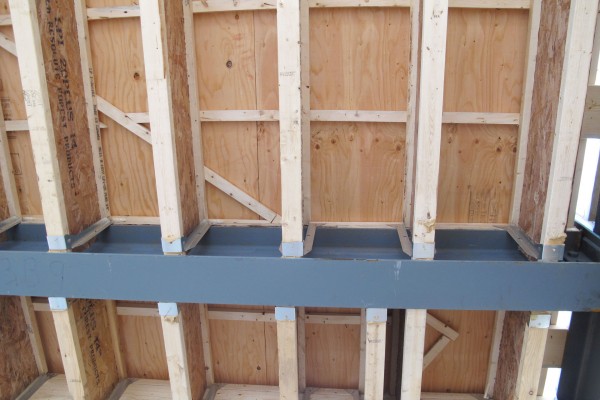
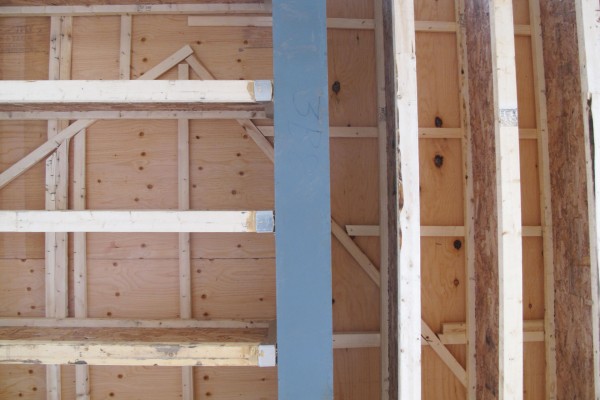
That diagonal line runs right to the east of the beam. And here you can see 3 different structure that’s sloping the roof meet together at a single point. This point is where my west side roof drain is located.
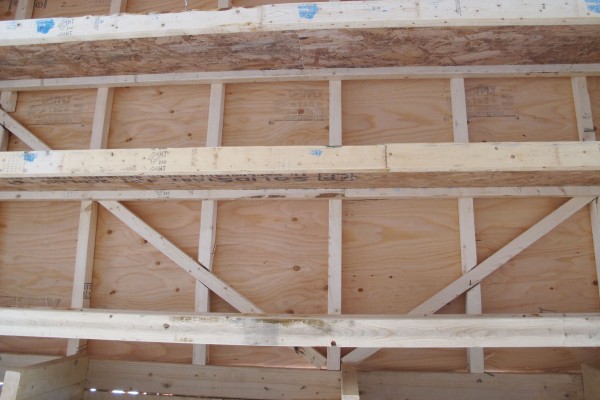
The photo below shows the middle section of the roof. The support in the middle forms a peak. The two diagonal support then slope the roof away from the center peak and towards the roof drains located at either end of the diagonal line.
This is under the roof on the east side. Just like the west side, you see a diagonal valley that allow the roof to be slopes from north to south as well as from east to west.
Also on the east side. Here you can see another instance where 3 structure that’s sloping the roof meet together at a single point. This is where my east side roof drain will be located.
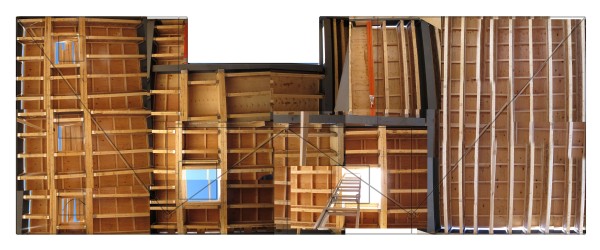
I tried to combine the roof slope diagram with the photo of the actual structure underneath with the composite image below. The photos are taken with camera aimed upward underneath the roof structure. There are 18 photos in total. Then the images are flipped, combined together, and placed where they belongs to on the diagram. If you click to see the full resolution image, you can get a better sense of where the structures are and together how to make the roof slope to where it needs to be. The faint black lines are the original diagram so you can see how the structure compares to the design drawing.
Leave a Reply
You must be logged in to post a comment.