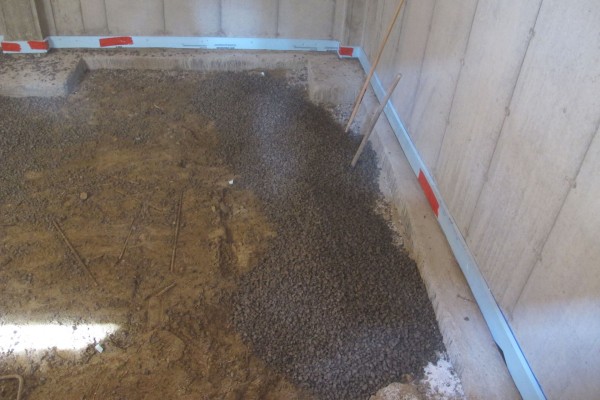
The crew from Belmont Concrete is here to do preparation work for the basement slab. The work includes leveling the existing ground by spreading out the soil dug up by drainage trenches, lightly compact the ground. Then fill the basement floor with 4″-5″ of 3/4″ clear gravel. Then put down 3″ of rigid foam under-slab insulation followed by 6 mil polyethylene vapour barrier, and 6″ x 6″ #6 wire mesh.
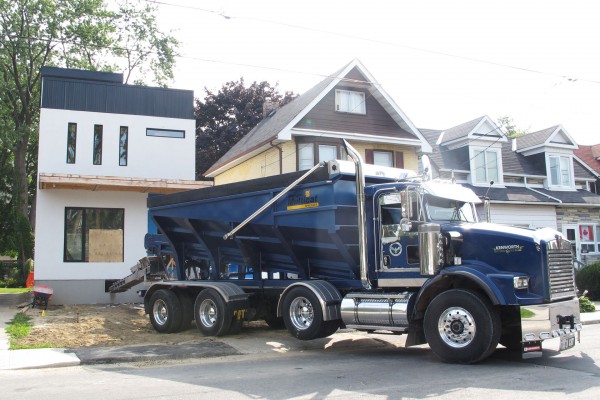
Here’s the truck that’s here to shoot the gravel into the basement.
A short video of them shooting the gravel into the basement. There’s a bit of problem, since my exterior is finished already with EIFS, the gravel shooting damaged a small section of it. Looks like I will have to get it repaired.
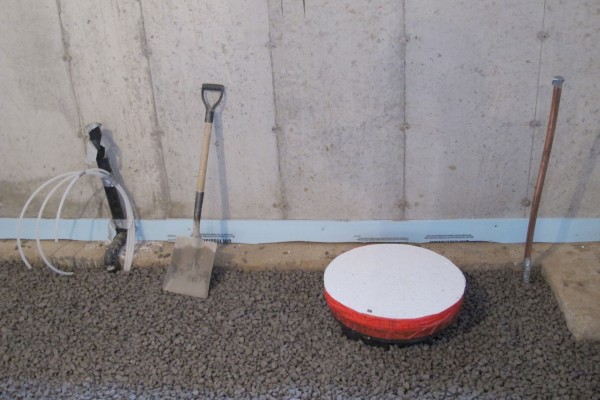
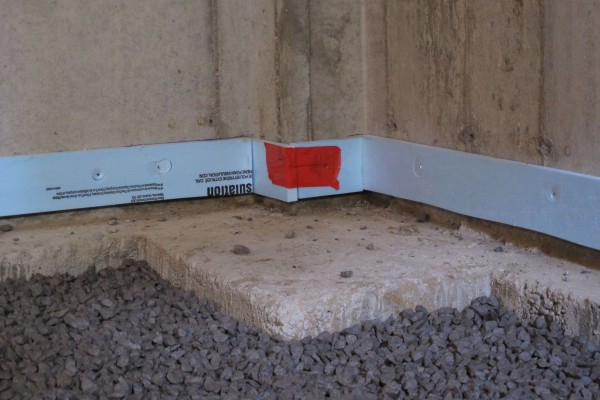
Here’s a view of the perimeter insulation that I have them install. It’s 1″ rigid foam insulation all around the perimeter. This is so that the basement slab is decoupled from the foundation wall. No part of my basement slab will be touching the foundation wall.
The sump pit is sitting a bit slow on the ground to fit the weeping tiles, so they cut a piece of foam and tape it right on the top so that the concrete will form around it.
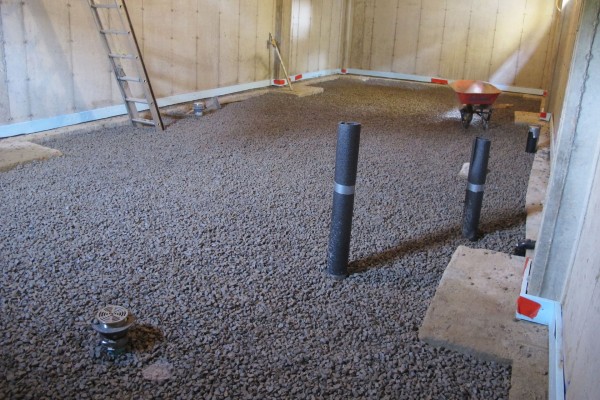
Here’s what the basement looks like after all the gravel are spread evenly.
They have used a laser level to determine the high point in the basement area. Looks like the basement footing is a little lower on the east side of the house.
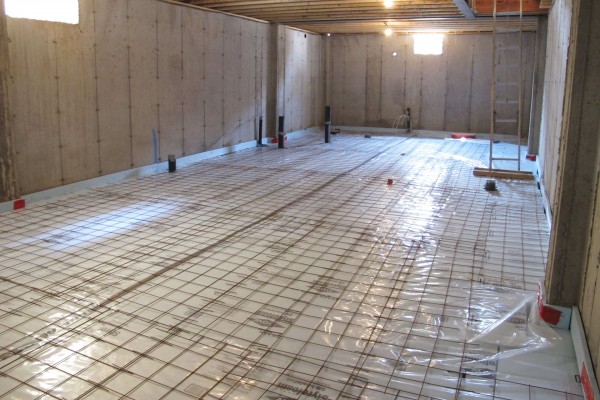
Then the 3″ rigid foam insulation is laid on top of the gravel. The 3″ is made of 2″ right on the gravel and 1″ that will cover the entire area including on top of the footing. That’s how I get my basement slab to not touch the foundation wall at all. 6 mil polyethylene vapour barrier is put on top of the rigid foam insulation. And 6″ x 6″ #6 wire mesh is put on top of that. As they pour the concrete, they will using a hook to pull the wire meshes up so that the wire mesh is embedded in the middle of the concrete.
Now the basement is ready and they are scheduled to pour the concrete tomorrow.
Leave a Reply
You must be logged in to post a comment.