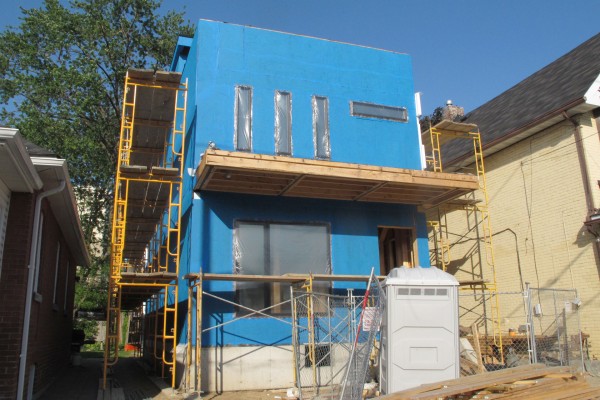
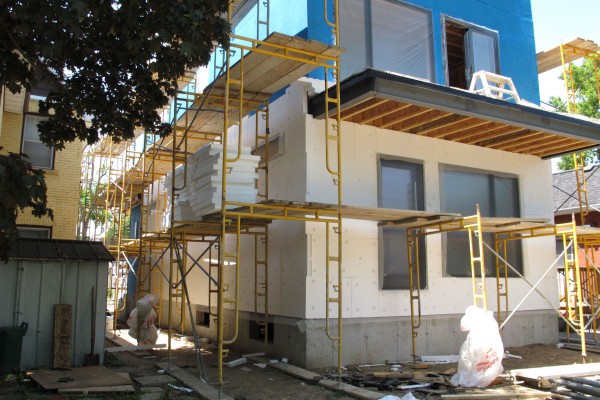
Day 4 of EIFS installation. Blue shield application is now completed over the entire house’s surface including the 3rd floor area. The crew then started to attach foam boards to the sheathing.
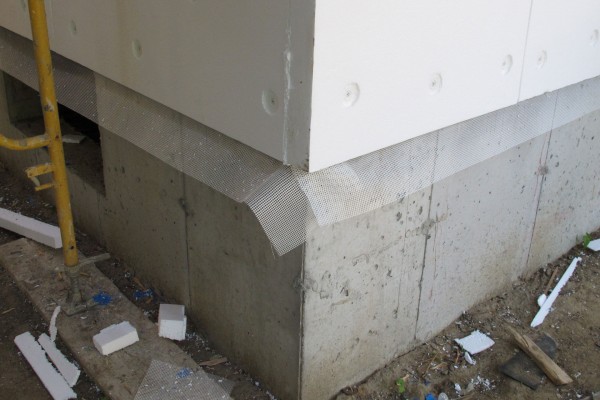
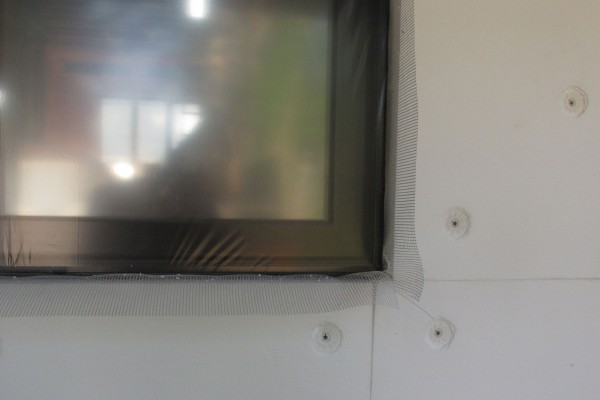
They lay a layer of screen around all the openings of the foam boards such as on top of the foundation wall, or around window / door openings. Then they fasten the foam board to the sheathing using a plastic holder and screws.
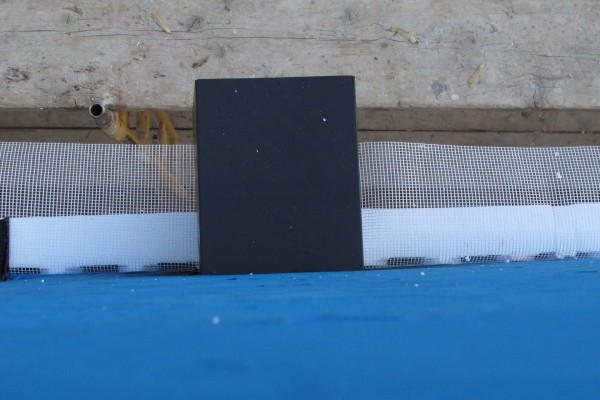
Close up of the same corner of the foundation wall as see in Day 3‘s photos. You can see the screen around the entire perimeter of the foundation wall. They will be folded up later so that the insects cannot go behind the foam and into the drainage channels.
The screen is also around all window / door openings.
It is also around the top edge of the foam board. Here, metal flashing / drip edges will be installed later when the top is covered with metal siding.
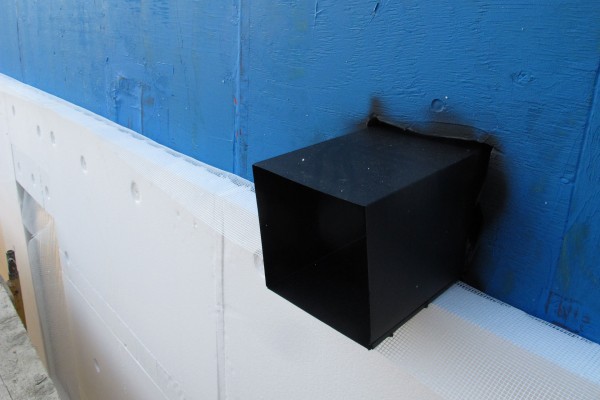
Here you can see the drainage channel behind the foam boards. And that’s why the netting is important so that it doesn’t block moisture but prevents insect from getting in there.
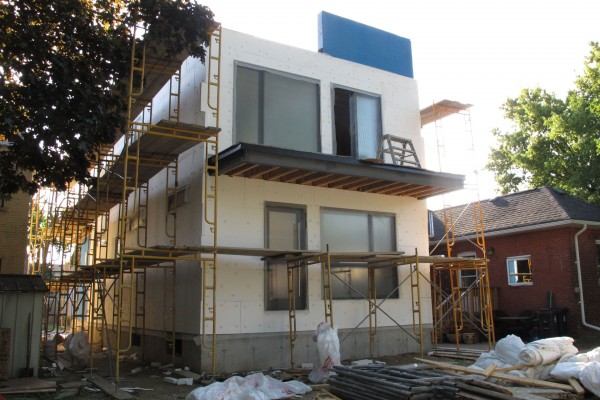
Here’s what I have at the end of the day. South and east wall is covered by foam. They will work on the west wall tomorrow and start on the north wall which is different since it has to be non-combustible.
Leave a Reply
You must be logged in to post a comment.