 August 17th, 2014 On Thursdy, I ordered 160 panels of basement sub-floor panels from Home Hardware. For this house, I decided to use Tyroc instead of the more usual DRIcore. So why not use a product that has been recommended by HGTV’s Mike Holmes or Bryan Baeumler? Well that’s because DRIcore has its own share of problems.
- DRIcore doesn’t actually stay dry. Its plastic base does not fully cover the entire base and so moisture can get to the OSB part of the board.
- DRIcore’s plastic base does not support mold growth, but if the OSB part get wet, it sure will support mold growth.
- DRIcore panels doesn’t actually stay together. Its tongue-and-groove installation means that the panels will move around. And since it is still wood in the OSB, it will expand and shrink causing more movement in the panels.
Now let’s compare that with Tyroc.
- Tyroc has a plastic base just like DRIcore. But with a top board made mainly of magnesium oxide. This is an inorganic material. This top board is impervious to fire, water and will not feed mold or mildew.
- Tyroc panels are glued together forming a continuous surface. It does not come apart like DRIcore. And since it has no wood component, it will not expand or shrink either.
- Tyroc is even environmentally friendly and green. The base is made of blend of recycled rubber from used tires and recycled plastic. The top is made of magnesium oxide which is mined, grounded into powder and made into a board.
And that’s why despite all the HGTV renovation shows are using DRIcore. I’m going to use Tyroc as my basement sub-floor.
On Friday the Tyroc panels are delievered. And on Sunday we’ve spent a bit time moving all those panels to the basement. These Tyroc panels are only 16″ wide. Making it easy to pass right through my basement window opening. So it was pretty simple. Would have a harder time with DRIcore since DRIcore is 24″ x 24″ and I won’t be able to pass them through the front window.
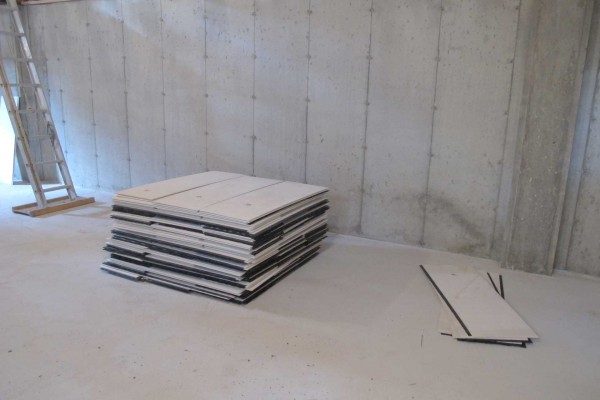
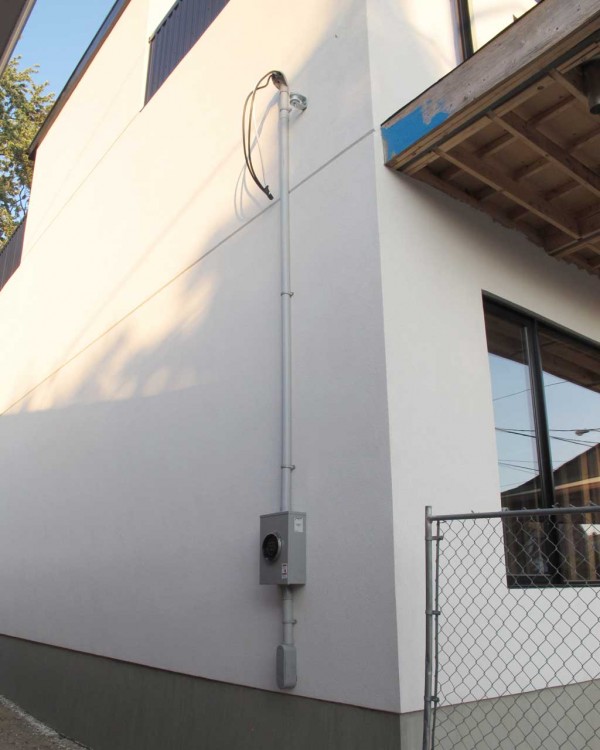
 August 15th, 2014 Abdul B Molla from Advanced Electrical Company is here to do the electrical utility connection.
Here’s where the new utility line will be connected to the house. I am getting new 200 amp services to make sure I don’t run out of power later on.
Continue reading ‘Electrical utility connection’ »
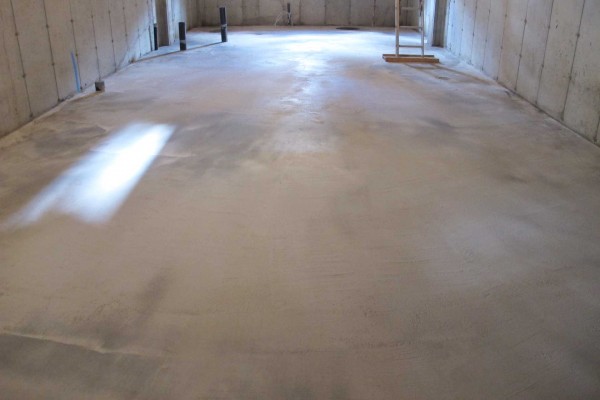
 August 13th, 2014 The basement looked dry so I went down to take a look. I wanted to make sure I can get to all the floor drains, back water valve access port, and clean out. Here’s what the basement looks like one day after the concrete is poured.
Continue reading ‘Basement floor’ »
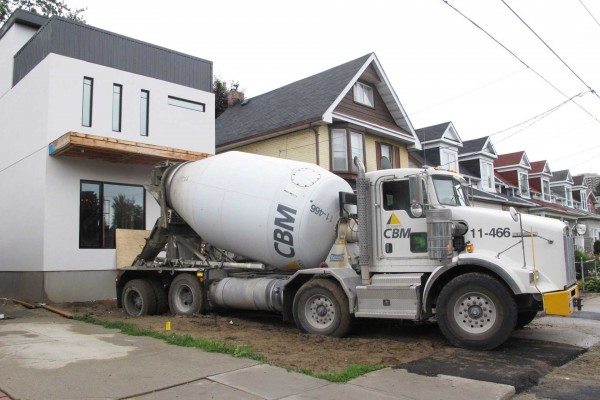
 August 12th, 2014 A different day, a different truck is parked in front of the house. The crew from Belmont Concrete is here to pour the basement slab. There’s a small amount of preparation work to be done since yesterday they didn’t have enough wire meshes. So they laid down more wire meshes covering the entire basement area. Then its time to pour the basement slab.
Continue reading ‘Basement slab’ »
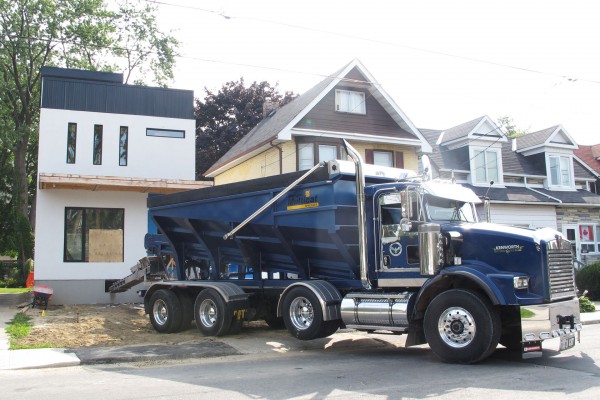
 August 11th, 2014 The crew from Belmont Concrete is here to do preparation work for the basement slab. The work includes leveling the existing ground by spreading out the soil dug up by drainage trenches, lightly compact the ground. Then fill the basement floor with 4″-5″ of 3/4″ clear gravel. Then put down 3″ of rigid foam under-slab insulation followed by 6 mil polyethylene vapour barrier, and 6″ x 6″ #6 wire mesh.
Here’s the truck that’s here to shoot the gravel into the basement.
Continue reading ‘Preparation for basement slab’ »
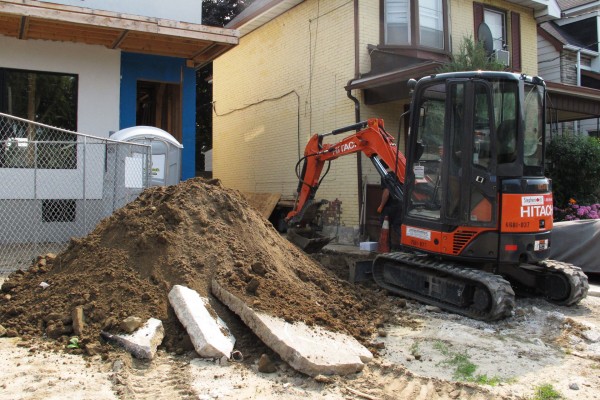
 August 8th, 2014 Today the brothers from AV Mechanical is here to finish my private portion of the sewer connection. When City of Toronto contractors did the city portion of the new sewer connection, they informed me that I still have clay pipes down there. Apparently only a small portion of the private portion of the sewer pipe was replaced with plastic pipes and the rest are still clay pipes. That’s how I ended up asking Angelo and his crew to come and dig up the ground again, so that the remaining sewer connection can all be replaced with proper PVC piping and then connect my sewer connection to the city portion.
This time they rented a slightly bigger excavator because the small one just doesn’t work all that well. Here they are digging up the old sewer connection.
Continue reading ‘Sewer connection on the private side’ »
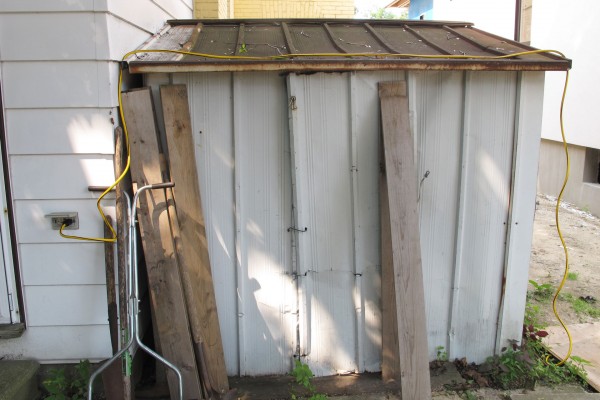
 August 6th, 2014 I got Abdul Barek Molla from Advanced Electrical Company coming over to setup some temporary lighting. I need that for the concrete work in the basement. I will be using the power from my adjacent property of 157 Chisholm Avenue. So some outdoor extension cord was used to get the power over to 159 Chisholm Avenue.
Continue reading ‘Temporary lighting’ »
 August 6th, 2014 Back July 30th, on the post titled Water / sewer service day 2, I indicated that city contractor filled a huge amount of concrete into the trench they dug. I like to elaborate a bit on this. City contractor excavated two trenches and dug up a big pile of soil for the sewer connection and a smaller trench for the water service connection. They used their dump truck to truck the soil away. By the time they back fill the trench, they didn’t have enough to back fill. Look at the picture below, you can see the sewer trench on the far left. That’s how much they back filled. There’s more than 1 meter of trenches not back filled and at places even more. Then they dump a huge load of concrete into that trench. Now in my drive way, there’s concrete over 1 meter thick. I can’t image this is the proper way to do this. How are you supposed to fix thing later one if you want to fix things down there?
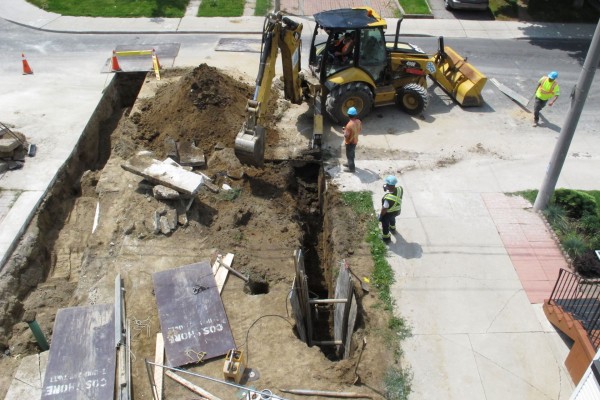
For the water service line trench, they just shoved the dirt in, there’s no attempt to compact the back fill what so ever. So a few days later two thunderstorm passes by and right here a sink hole developed right next to the sidewalk. Later this sink hole collapsed even more including partially underneath the sidewalk. Again I can’t imagine this is the proper way to do this.
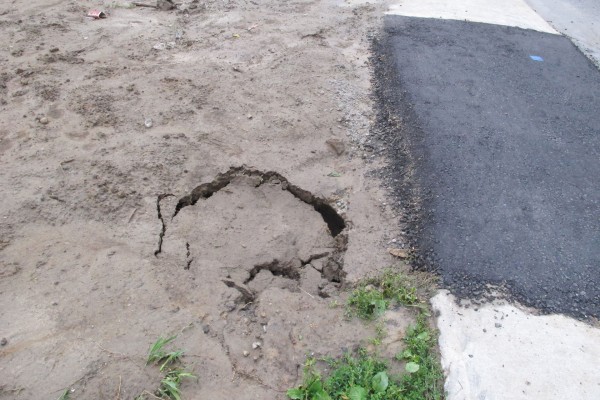
So OJCR Construction Ltd, enjoy your city contracts, because you surely are not making the grade here in my world.
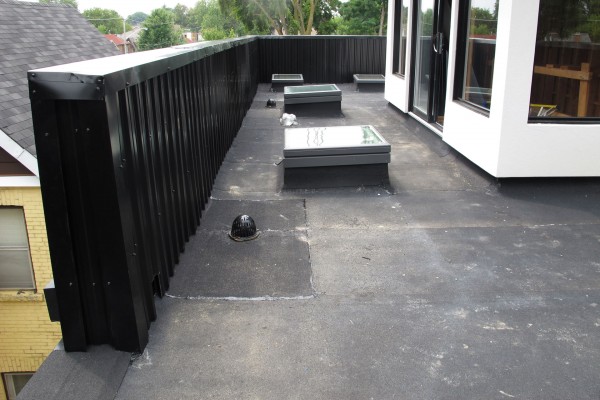
 August 3rd, 2014 Just over a day and a half since that thunderstorm passed through, it hasn’t rained since, I went up the roof to check if there’s any more standing water left.
This is a view from the east side. The water around the skylight curbs are all gone. The entire roof looked dry.
Continue reading ‘Flat roof drainage follow up’ »
 August 1st, 2014 Flat roofs are not very good on water drainage, especially if you want to have a roof top terrace which is what my design is. If you don’t have a roof top terrace, you can have a consistent pitch on your flat roof and drain the water to one side. That’s proven to be pretty effective. You can always have a higher pitch if you don’t have a roof top terrace, since no one will be walking on it. But in my case because of the roof top terrace and the accompanied parapet wall, the roof has to be designed to drain into interior points. This creates the necessity of creating complex low pitches on the roof to drive water towards where you wanted. And sometimes these pitches might not work the way you wanted.
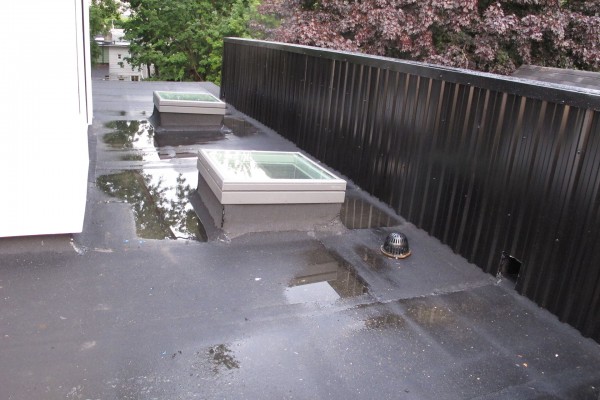
No that the roof top is pretty much completed, I need to make sure that any standing water on the flat roof is within an acceptable range. And just so happens that today right after the metal sidings are installed, a quick thunderstorm passed through. A good time to check to see if the drainage is working the way it should be.
So here’s what I have immediately after the storm. The south side is the low side and that’s where the roof drains are. The south side mostly drained well. But the two skylight curb created a bit of a high point and is preventing some of the water from flowing towards the low points. This is a view from the west side. As you can see there’s a small body of water right around the skylight curb.
Continue reading ‘Flat roof drainage’ »
|
|


