 September 2nd, 2013 Still no end in sight for the building permit. So I started with utility disconnections. So I have water, electricity, and natural gas to disconnect.
Water is easy, one call to the city’s water meter office, they scheduled me a date, someone will need to be on site to provide access to the water meter and that’s it.
For electricity, I called Toronto Hydro. They emailed me a form for me to sign and complete. Then they told me it is estimated that on September 19, they will be there to cut the power and remove the meter. There does not need to be anyone on site for this.
For natural gas I have two issues. First the hot water heater is rented from LiveClean which is later taken over by Reliance. Reliance told me that the previous owner signed a 10 year contract with LiveClean starting February 2012 and it will cost me a total of $700 + tax to terminate the contract and have someone come to remove the tank. To buy out the tank, it would cost me a whooping $1310 + tax. I looked up the hot water, and it isn’t even a high efficiency one. Just a normal power vented tank. So I’m cancelling the contract.
For natural gas distribution, I called Enbridge. The process is complicated. They will come and lock my meter in 3 business days and provided me with a final bill. Then they will send a quote in 10 days on the cost to cut off the natural gas service. And that it may take up to 44 days to get my natural gas service terminated. Really? 44 days? Had I known that, I would have applied for utility disconnection much earlier.
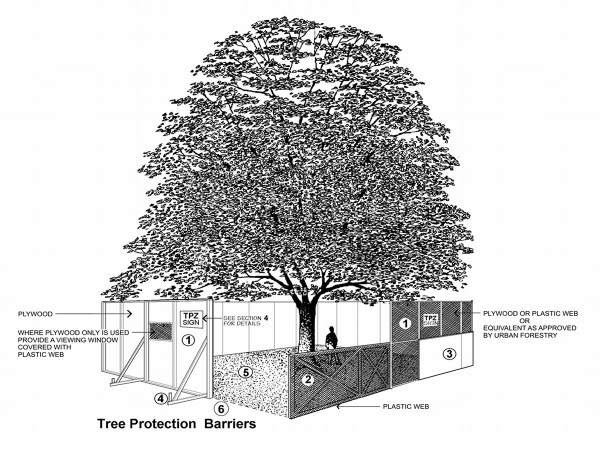
 August 30th, 2013 So one of the requirement from the city for issuing the permit is to build a tree protection barrier around the protected tree. Like the one illustrated below. After some back and forth with the forestry department, it seems that all we need to do is to build a 4′ tall fence 6 m away from the tree using orange webbing.
So together with my cousin we sent out to build the fence.
Continue reading ‘Building a tree protection barrier’ »
 August 21st, 2013 So I got my hopes too high last time. Apparently there’s plenty of issues the city inspector has with my building plan. The status on the building permit is being refused and there are a lot of things that they wanted us to address.
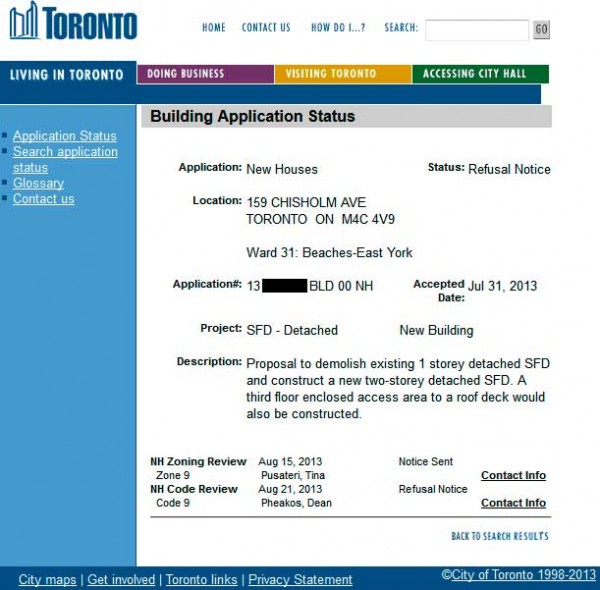
The major point that the city inspectors want us to address are:
- Clearance from the city’s forestry department on the tree protection zone.
- Rear deck must specify pressure treated stair-stringers spaced every 3′.
- Read deck needs to be secured on ledger board.
- Front concrete steps needs to be provided with footings and foundation walls.
- Front shade cannot project beyond the side of building.
- They wanted more engineering information on my green roof.
- The north wall that’s only 1′ away from the property needs to be non-combustible clad and fire rated.
- Areas of opening on the side wall needs to provide compliance to Ontario Building Code.
- Closed cell foam insulation on the underside of the roof needs to conform to standard.
- Some clarification on the structure steel.
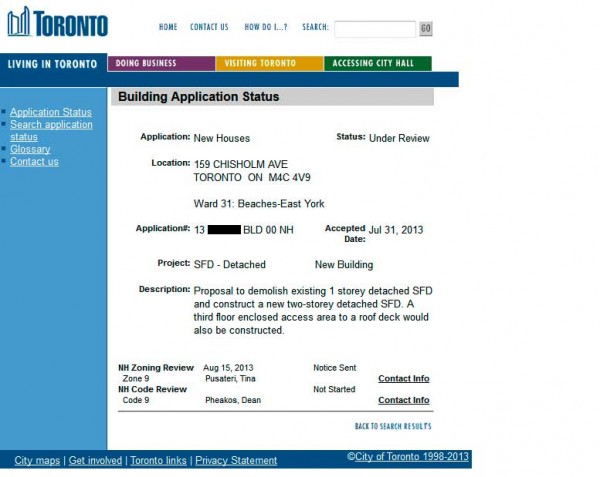
 August 15th, 2013 It’s August 15th. Checked my building permit application status and it says it’s under review. Which is good news for me. I am really counting on trying to get started sometime in September. It saying under Zoning Review “Notice Sent”. Not sure what it means, since I didn’t receive anything as of yet. I’m not sure if they are sending the notice to my architect or to me. But at least there’s progress on it. Now only if I get through the new house code review quickly.
 August 1st, 2013 Yes my building permit application is in the city’s computer system now. The usual turn around time is 4-6 weeks. So hopefully by end of August I would have the building permit and can start to schedule demolition work. The tenant will move out on August 27. So I would say it is nearly perfect timing. Hopefully I can get demolition done quickly and get all the concrete work in before the weather turn too cold.
 July 31st, 2013 Today is the last day of July. I have finally gathered all the files with proper signature on them. So here we go again to the city’s building department to submit the application for building permit. This time everything went smoothly. The computers are working, and we didn’t miss any critical files. We still missed an Energy Efficiency Design Summary, but we can submit that later. So after about an hour and half, the building permit application is submitted. The cost of the building permit application is just shy of $3000.
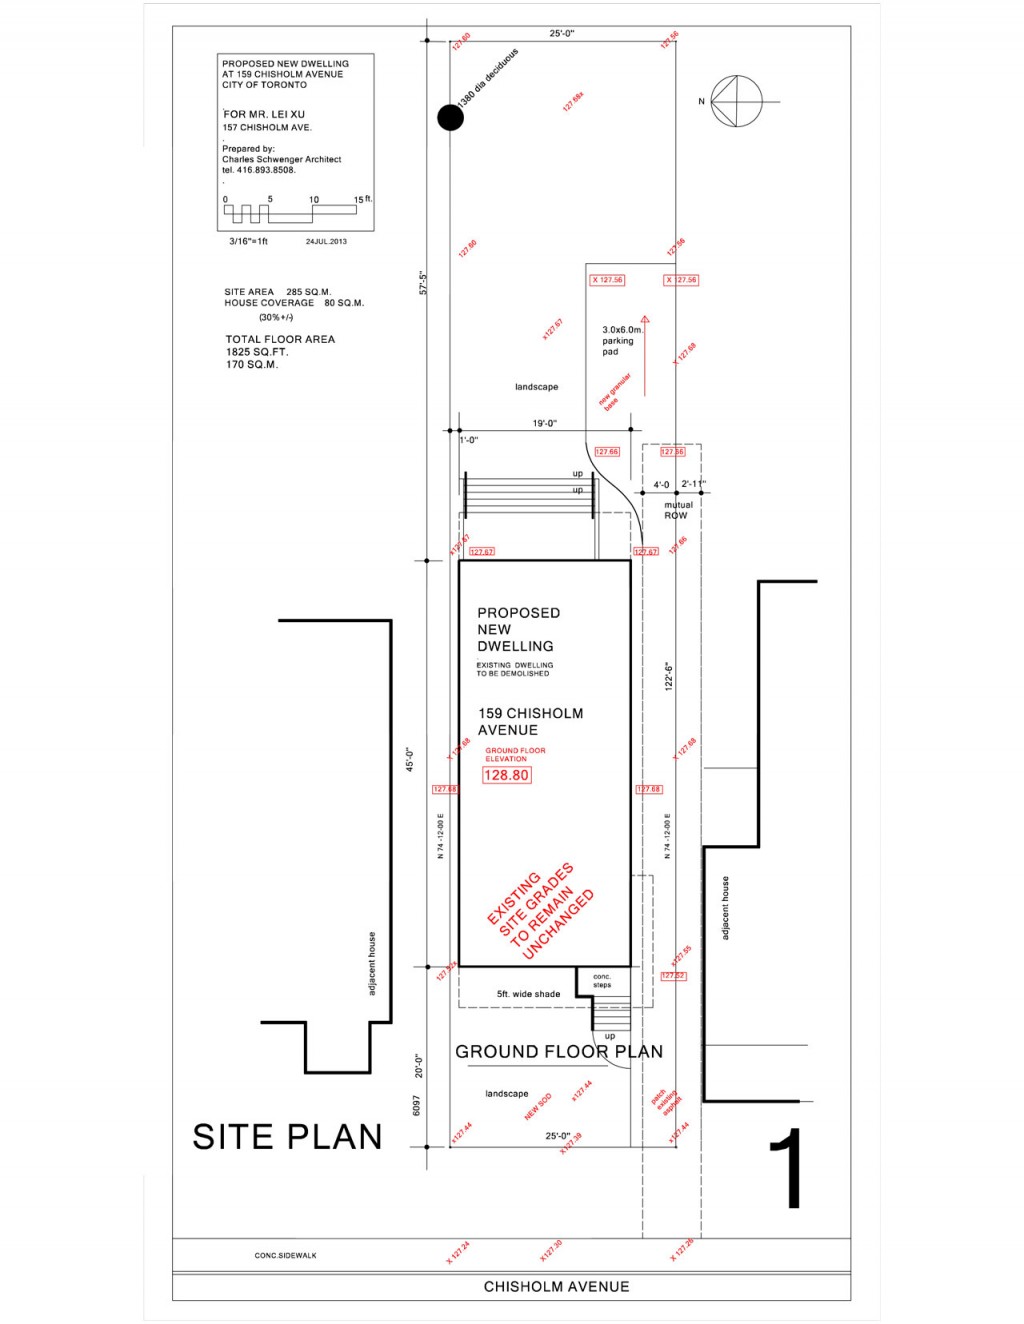
And so here is The Big Marshmallow House design as submitted for permit.
Site plan:
Continue reading ‘Building permit application submitted’ »
 July 29th, 2013 One of the things we were missing for building permit application last Wednesday was signed Schedule 1 Designer Information from the HVAC designer and signature on the drawing and the heat loss calculation. We informed Haibo Chen from Fulford Supply that we needed the form from him and I’ve also sent him a few minor revisions. Mr Chen came through on Monday with the files. We’ve also got signed drawings from Ben Mashhadi of ABM Engineering. So finally I think we have everything we need to get the building permit application through.
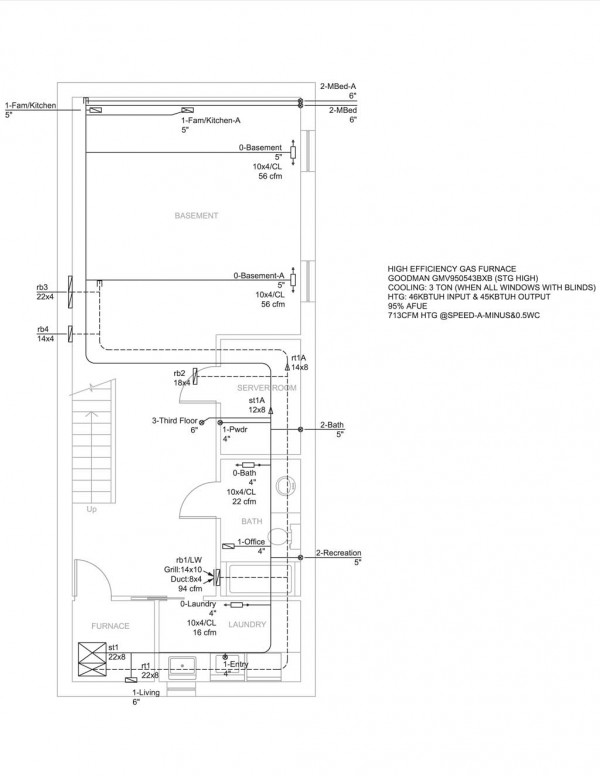
Here’s the final HVAC duct layout. Not a lot has been changed, just some minor relocation. We’ve done most of the work on the structural engineering on the placement of the steel beams to make the duct layout work.
Basement duct layout:
Continue reading ‘HVAC design final’ »
 July 25th, 2013 Yesterday I was at the city hall trying to submit the building permit application for my house. That didn’t work out since we are missing some signatures in the files. However I did overheard another conversion that the city has already enacted on the new City of Toronto Zoning By-law 569-2013 on May 9, 2013. I must been too busy working my real job and designing the house in the past few month that I didn’t even notice that the new zoning by-law is now official.
The good thing about this new zoning by-law is that now you can finally look up all the by-law text online and look up the zoning maps on line. I will no longer have to wait for hours just to find what zoning code is assigned to my property. And I will no longer have to go to the city hall and flip through the pages in a binder to find relevant by-law text. (I searched high and low but simply can’t find Easy York zoning by-law 6752 text anywhere online.) This is great for someone who want to start their major building project to find all the relevant information. So here we are, point your browser to http://www.toronto.ca/zoning/ and you can find all the necessary zoning information right at your finger tip.
However, as I was scanning through the new zoning by-law text, I found that the new zoning by-law actually puts a serious restriction on balcony in the Residential Detached (RD) zone. See By-law 569-2013 10.20.40.50, it has indicated that in the RD zone, there can only be a maximum of one deck/balcony on each side of the house, and any deck/balcony with access from the second storey or above can only have a maximum of 4.0 square metres each. So what this means is that if you want a balcony that you can sit on, which should be probably around 4′ – 5′ deep, you can only have it 8 ‘ – 10′ wide. The balcony that I designed for my house that’s 5′ deep and 19’ wide will no longer be acceptable in Toronto. As for my house, there is a transition protocol, which allow house that has zoning review application submitted before the May 9, 2103 to be processed under the old by-law. So I should still be able to get what I wanted.
 July 23rd, 2013 We are now approaching the last week of July. Finally after a few rounds of back and forth between the joist designer and the structural engineer, we finally come to an acceptable design for the joist layout. There is a few things that’s very specific for this house. First of all, because of the heat pump outlet, there are a few 2′ x 2′ cutouts in the ceiling of the first and second floor to accommodate the heat pump outlet. Then there’s the sky lights on the roof, I have two 3′ x 3′ skylights and three 2′ x 2′ skylight scattered around the roof. And finally there’s the problem of how to secure the engineered I-joist to my steel beams. For a wood framed house, hanging engineered I-joists is simple, just nail your typical joist hanger to the headers and slide the I-joists onto the hangers. However, my house has a steel frame, so it requires a different approach.
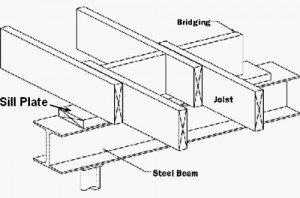
There are a few ways to hang joists with steel beams. One method that a lot of us are familiar with is the way typical house today uses for the ground floor on top of a steel beam in the basement. What you do is you put a sill plate on top of the steel beam. Then you would just place joist right on top of the steel beam and put blocking in between to prevent lateral movement. Something that looks like this:
 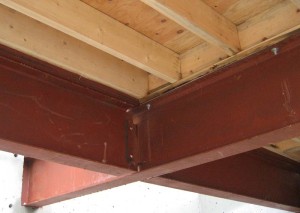
I cannot place the joist on top of the beam. I have steel beams that runs right across the house, which mean if I place the joist on top of the beam, I will end up having the beam right in the middle of the house. My design calls for a flat ceiling.
Continue reading ‘The different ways to hang I-joist’ »
 July 21st, 2013 Today the plan was to try to submit our application for building permit. There are still some minor adjustments, but my architect said that we’ll just get it done after we get the building permit application in. Unfortunately, the wind is not blowing in the right direction today. First of all, the city’s building department’s computer system is down. And then when they went through the files, they found that some of our files did not have engineer’s signature on them. So we were not able to get the application submitted. Now I have to chase after a few people to make sure I get the signature on those files. Hopefully I get all that sorted out next week and we can get the application in before the end of July.
|
|


